
Start with the photos that matter most
Before you touch anything, decide which photographs you want to include in the memory book. It helps to group them by person, event, or time period so the final layout tells a clear story. If you are working with a mix of wedding pictures, school photos, and family holiday prints, put them into separate piles first.
Old prints often arrive in different sizes and conditions, especially when they have been stored in shoeboxes, albums, or drawers for years. In Pretoria homes, where heat and dust can build up quickly, photos may curl at the edges or show faint marks from humidity. That does not always stop them from being scanned, but it does mean a little preparation goes a long way.
- Choose the best print when you have duplicates
- Set aside damaged photos for careful handling
- Keep the final selection to the story you want to tell
- Label groups by date, person, or occasion
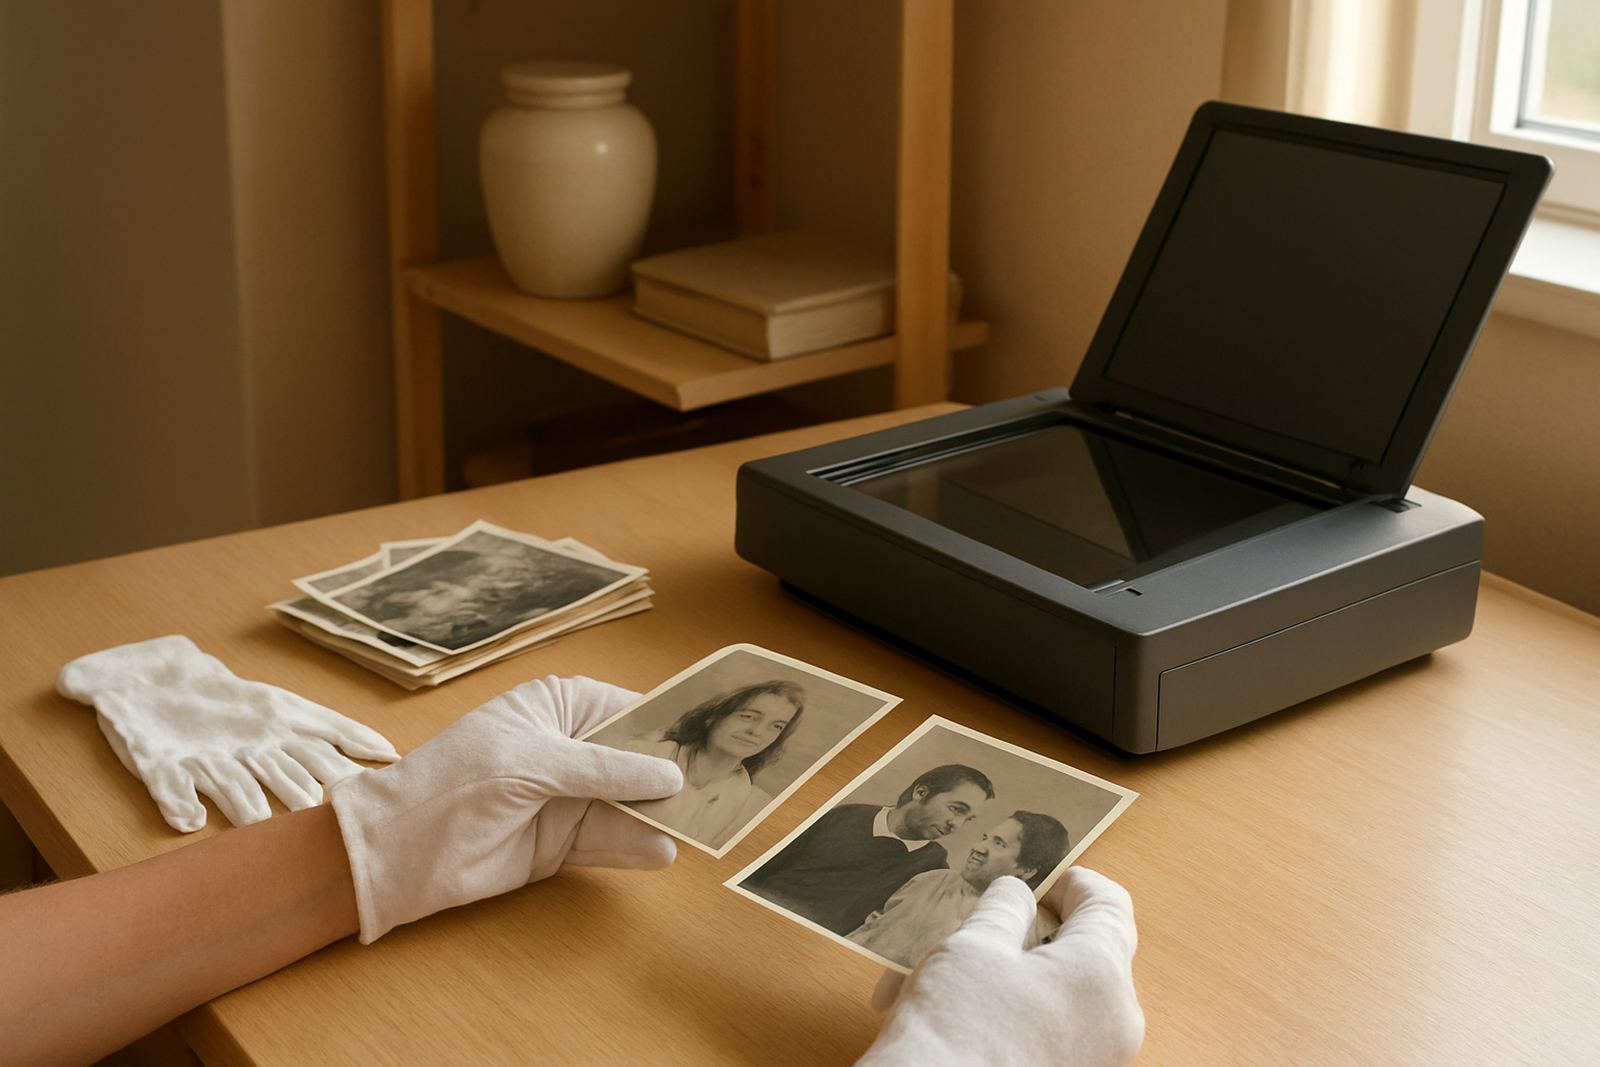
Handle each print gently before scanning
Fingers leave oils on glossy paper, so it is best to hold prints by the edges. If a photo has been sitting in an album sleeve, remove it slowly and do not force it free if the paper is stuck. Tugging can tear the image or lift the surface of the print.
If the photograph is dusty, use a soft, dry cloth or a clean blower to remove loose particles. Avoid water, sprays, or household cleaners. These can leave streaks or cause older paper to buckle. When a print is fragile, place it on a flat surface and move it as little as possible.
For cracked corners, creased edges, or faded images, do not try to flatten them under heavy books. That can damage the paper further. Keep them in a protective sleeve or envelope until they are ready for scanning.
Sort, label, and write down the details you still know
Scanned photographs look better when the information around them is organised too. Write down names, dates, places, and any small memory that belongs with the picture. Even a short note such as “Ouma at the farm in 1987” gives the memory book more meaning.
This is especially useful when more than one family member is involved. One person may know the names, another may remember the venue, and someone else may have the full date. Gather that information before the scan process begins so nothing important gets lost later.
- Use a notebook, spreadsheet, or simple phone note
- Write names exactly as the family uses them
- Add places such as Pretoria, Bela-Bela or Gqeberha where relevant.
- Mark uncertain details clearly rather than guessing
Choose the right size and quality for the scan
Not every photograph needs the same treatment. A small wallet print may scan well at a standard size, while a larger portrait or group photo may need more care to keep the faces clear. The goal is to capture enough detail for print and layout without stretching the image later.
If a photo is very faded, a good scan will still record what remains. It is better to work with the best possible original than to retake it with a phone camera under poor light. A scan also avoids glare from glossy paper and helps keep the edges true.
Where possible, keep the original flat and unbent. If a print is mounted on thick card, mention that too because the backing can affect the scan setup and the final finish.
What to send with the photos for a memory book
Once the photographs are prepared, send them together with your notes and any instructions for the memory book. If you want the book arranged chronologically, say so. If you prefer a theme such as “parents’ life story” or “50th birthday tribute”, that should be clear from the start.
It also helps to include the following:
- A list of must-have photos
- Any preferred captions or message text
- Spellings for names and places
- Notes on which images may need cleaning or extra care
- Any page order or grouping you want followed
In Lynnwood, Pretoria, a client may bring in a box of family prints from several decades, plus a few recent pictures from a phone. With clear notes, those can be turned into a tidy memory book that feels personal and easy to follow.
Clean scans make better photo books
Good preparation saves time and avoids mistakes. It also protects irreplaceable family memories. A scanned image that starts off clean and clearly labelled is easier to place, crop, and caption without guessing.
For memorial books, birthdays, and family tributes, the photos often carry the full emotional weight of the project. When they are sorted properly, handled gently, and labelled well, the final book feels calmer and more complete. That matters when the book is meant to be shared with children, cousins, or grandchildren.
If your photographs are from an older album, ask a relative to help identify faces before you hand them over. Sometimes one small detail, like a school badge or a church hall in the background, can open up a whole story. And if there is uncertainty, it is better to note it than to force a guess.
A simple local example from Pretoria
A family in Silverton recently gathered prints from a grandmother’s box, including black and white portraits, faded school photos, and a few colour holiday pictures from the 1990s. They sorted the images into piles, wrote names on slips of paper, and marked the ones that were torn or badly bent. That made it much easier to prepare a memory book that followed her life from childhood to retirement.
The same method works whether the photos are going to a keepsake book for a funeral, a milestone birthday, or a family celebration. Careful sorting at the start means the story comes through clearly later on. It also makes it easier to organise courier delivery nationwide if the photographs are being sent from elsewhere in South Africa.
Take your time with the originals. A little order now can make the finished memory book feel thoughtful, clear, and worth keeping for years.